
A Clock Radio
I was woken up by my phone’s alarm a few days ago. This isn’t an unusual activity either my phone has been responsible for waking me up each morning for years. As I rolled over and went to snooze it to give myself some time to get up my hand moved as it did every morning to first pick up the phone and turn it towards me to check the time then my thumb slid across the screen to enable snooze.
Routines are a funny thing.
As my thumb pressed down on the screen and my still sleepy eyes adjusted to reality I thought I’d seen something unusual but the alarm was quiet and I needed to get ready for work as I’d got an important meeting with a client that day. Luckily I wasn’t in much of a rush so after a few more minutes I gathered the energy to roll out and start my day.
Have you ever tried to open a door by pulling on the handle only to discover you were supposed to push it? Why did you try pulling it in the first place! The handle grants an affordance - it makes it easy to pull so that’s what you choose to do. Granting the correct affordances is a crucial role when designing any interaction and when chosen correctly produce something that is a pleasure to use. Isn’t it satisfying when picking up something for the first time to somehow, instinctively, know how to use it? That’s the goal of good affordances.
I woke again to the sound of my phone’s alarm but this time something else woke in my head. A little thought that I’d seen something unusual the previous morning. As I turned to my phone and went through my routine for waking up I spotted it. The slider was gone! In its place was a pair of enormous buttons in two previously unseen shades of green and grey. Right where my thumb landed to begin the slide towards snooze was a button titled “Off”. What the hell had happened? Why was I now required to tap buttons after five years of comfortably sliding to my desired action!
The owners of the alarm app, Google, had updated it without any indication or request to their “Material 3” design. As my phone is rather old it only runs version 10 of Android and so it was thankfully designed around version 2 of this style guide. Unfortunately any understanding of consistency has long been lost at Google and these system-level apps are subject to being updated to match the newest Android version. My phone now displays an inconsistent and awkwardly usable mess of design themes.
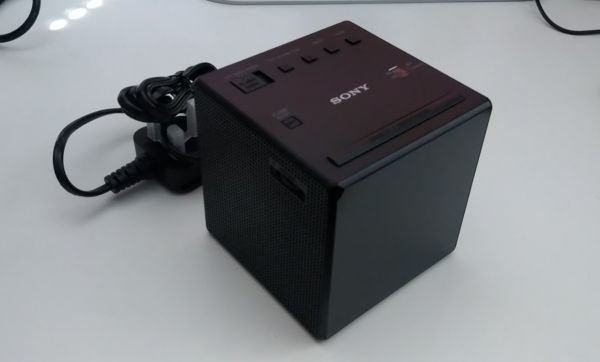
Breaking my morning routine just to push some new marketing material left me feeling disgusted. I was left reconsidering why I allow this sort of behaviour in my life and after a short period of reflection I decided that I don’t. That afternoon I ordered a Sony clock radio and disabled all of the alarms on my phone.
Now I no longer have to worry about the snooze button unexpectedly metamorphosing each morning. The controls and process to set an alarm will remain the same until I say it is time for them to change. My life is far too short to be dragged around by the whims of a faceless mega-corp.
Yes I am aware that I’ve chosen to buy from another mega-corp but Sony, outside of their gaming division, have always been respected for their design. I’ve used a number of Sony devices across their consumer and professional ranges and have never been surprised in this way. Hardware needs to work the first time and every time after that!
Originally published on 2025/09/01